I did a little research and found that most temperature sensors were based on thermistors and that the most common value was 10K Ohm. A little more research led me to believe that the Aqualink sensor was based on one of these common 10K Ohm thermistors. Armed with this knowledge I set out to repair my Aqualink sendor and save a bunch of money.
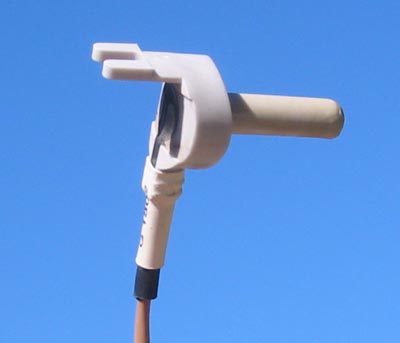
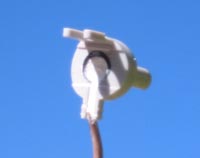
First I removed the sensor from the pool Equiptment, Here it is before the repair
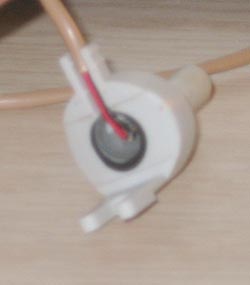
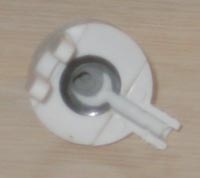 Next I drilled out the sensor and remove the wire. I wanted to clean out as much of the insides of the sensor without damaging the shell of the sensor. It has to be left water tight. Here is what the sensor looks like after it has been drilled out.
 The new thermistor sensor was prepaired by soldering it to the wire that I removed when I drilled
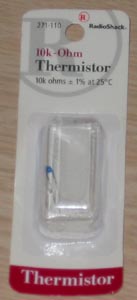
out the sensor. The thermistor came from Radio Shack part number 271-110. I think it was
under $2.
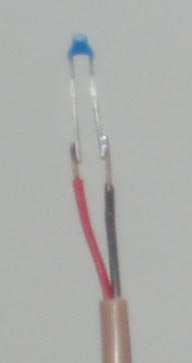
The new thermistor sensor was prepaired by soldering it to the wire that I removed when I drilled
out the sensor. The thermistor came from Radio Shack part number 271-110. I think it was
under $2.
 Next I inserted the prepaired termistor inside the drilled out sensor shell. The deeper
you can get the sensor, the better it will react to temprature changes. Be very careful
on this step to not short out the wires. If you short out the wires your probe will not work.
Next I inserted the prepaired termistor inside the drilled out sensor shell. The deeper
you can get the sensor, the better it will react to temprature changes. Be very careful
on this step to not short out the wires. If you short out the wires your probe will not work.
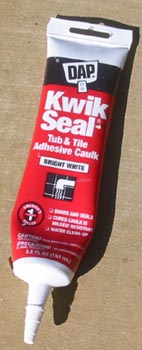
 Once you have the new thermistor in place, seal the thermistor in place with some 'goop'.
in my case I used some calulk. Once again make sure the wired don't short out and try to
fill the whole drilled out area. Let the 'goop' dry and the sensor should be ready to use.
Once you have the new thermistor in place, seal the thermistor in place with some 'goop'.
in my case I used some calulk. Once again make sure the wired don't short out and try to
fill the whole drilled out area. Let the 'goop' dry and the sensor should be ready to use.
 Finally, re-install your sensor, run the pump for hour or so, check for leaks, and then
calibrate the new sensor on your control panel using a traditional thermometer. You
should be good to go now.
Finally, re-install your sensor, run the pump for hour or so, check for leaks, and then
calibrate the new sensor on your control panel using a traditional thermometer. You
should be good to go now.
If you build this and it works or does not work for you let me know and we can compair notes.
Contact me at mike -at- mycal . net